
How the work is done · Torrance, CA
The Water Damage Restoration Process in Torrance, CA
A good job runs in the same order every time. The crew stops the water, finds every wet spot with a meter, pulls out what it can, removes what can’t be saved, then dries the house until the readings prove it’s dry. Repairs come last. This page walks through each stage so you know what to expect and what to ask for.
Last checked: November 5, 2026
Quick facts
Before anyone arrives
What Happens When You Call
When you call (424) 300-7170, you’re connected to an independent, licensed restoration provider that serves Torrance. Someone answers day or night. Expect a few quick questions before a crew is sent.
The provider will want to know where the water is, when it started and whether it came from a clean line, a drain or a sewer. Tell them if a ceiling is sagging or water has reached outlets. Condo owners should say if the water came from the unit above.
While you wait, shut off the water and take photos of every wet room. Our home page has the full first hour checklist. When the crew arrives, they’ll walk the house with you before setting up equipment.
Step by step
How the Water Damage Restoration Process Works, Step by Step
Most jobs follow these seven stages, though a small leak may move through them in a day or two.
Stop the source and check safety
The water has to stop first, sometimes with a plumber’s help. The crew also checks for live outlets in wet areas, a sagging ceiling and slippery floors, and shuts off power to wet rooms if needed.
Inspect and map the moisture
The tech uses a moisture meter, and often a thermal camera, to find water inside walls, under flooring and behind cabinets. Wet areas get marked on a sketch, which usually shows the water spread farther than the stain.
Pull out the water
Pumps and extraction wands take standing water off floors and out of carpet. Every gallon pulled out now is a gallon the dehumidifiers don’t have to remove later.
Remove what can’t be saved
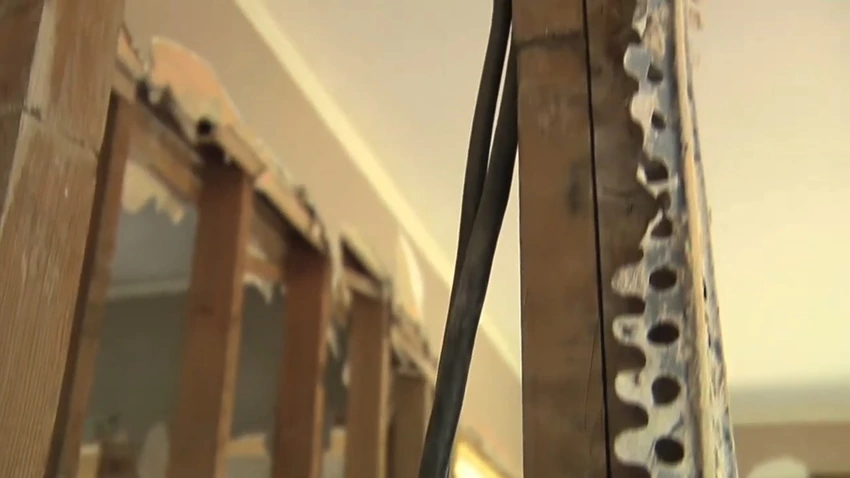
Soaked carpet pad, swollen baseboards and wet drywall may come out. For walls, the crew often makes a flood cut, a straight cut above the highest wet reading, so air can reach the studs. The EPA’s water damage table says drywall can sometimes be dried in place if it isn’t swollen and the seams are intact. If not, it gets replaced.
Dry the structure
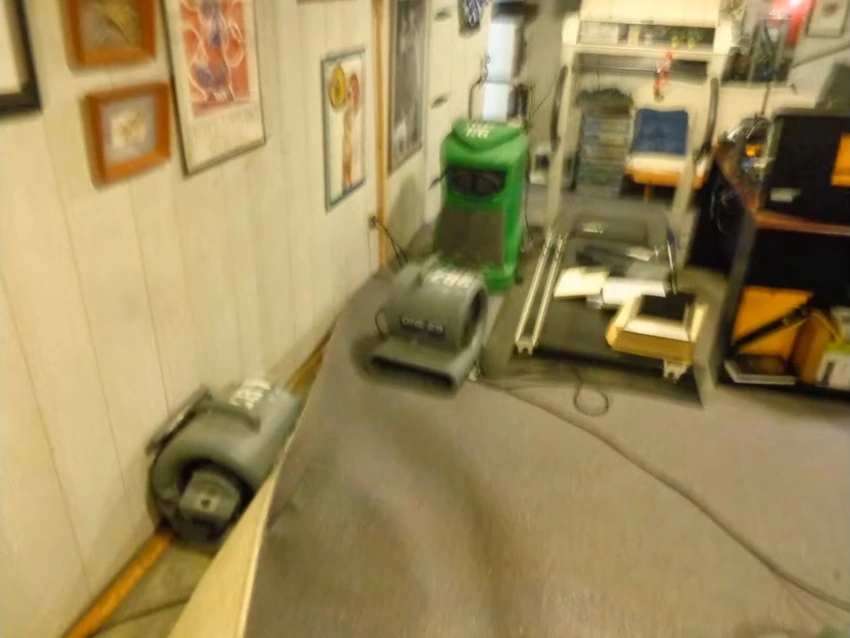
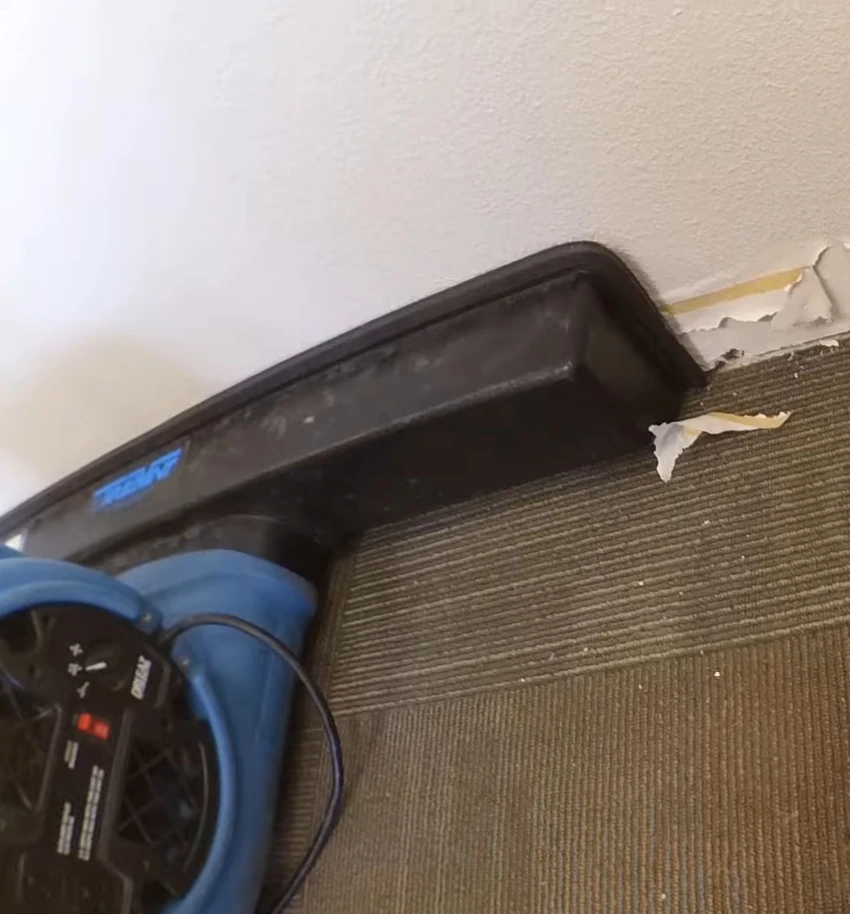
Air movers push air across wet surfaces and dehumidifiers pull the water out of the air. Fans stay until the readings say dry, not until the floor feels dry.
Clean and treat
Surfaces get cleaned once they’re dry or as they’re opened up. After gray or sewage water, crews commonly apply an antimicrobial to framing and subfloor. The EPA says biocides like bleach aren’t recommended as a routine part of mold cleanup, so a spray is never a stand-in for drying and removing wet material.
Rebuild
New drywall, texture, paint, baseboards and flooring go back in. Some providers do the rebuild themselves, and some hand it to a separate licensed contractor. Ask which one before the drying starts.
Water categories and classes
What Category and Class Mean for Your Job
Crews rate every job two ways under the ANSI/IICRC S500 standard: category is how dirty the water is, and class is how much water the materials soaked up.
Category 1: clean water
Water from a sanitary source, like a broken supply line, a faucet or a water heater. Many materials can be dried and kept if drying starts fast.
Category 2: gray water
Water with real contamination that could make people sick, such as a washing machine drain or a dishwasher overflow. Carpet pad and some soft goods usually go.
Category 3: black water
Sewage backups and outside flood water. Porous materials are removed and the crew wears protective gear. The IICRC says the category must be based on what’s found on site, so storm water isn’t automatically Category 3.
Class 1 and Class 2
Class 1 is a small area where most of the wet material is low porosity, like tile. Class 2 means carpet and the lower part of walls have soaked up a fair amount, so drying takes more equipment, per the S500 definitions.
Class 3
The most water absorbed, often with ceilings, walls and carpet all wet. Expect more equipment and more days.
Class 4
Water bound deep inside dense materials like hardwood, plaster or a concrete slab. These dry slowly and may need drying mats or heat.
During drying
What You’ll See Each Day While It Dries
Expect noise, warm air and a tech who comes back about once a day. Each visit, they check the same marked spots and move or remove equipment as areas reach dry.
Most crews measure against a dry standard. That’s a reading taken from the same material in a part of the house that never got wet. When the wet wall reads close to the dry one, it’s done. A wall can feel dry to your hand and still read wet inside, and that hidden water is what grows mold.
Leave the equipment on and the windows closed unless the tech says otherwise. Coastal air near West Torrance and the Hollywood Riviera can stay damp on gray mornings, and opening windows can slow the dehumidifiers. The EPA suggests keeping indoor humidity below 60 percent, ideally 30 to 50 percent. Our mold removal page covers what happens if growth shows up anyway.
Ask for these each visit
For your claim
What Good Insurance Documentation Looks Like
Your adjuster will want proof of what got wet, what was removed and why. The California Department of Insurance tells homeowners to take photos, list damaged items and get written, line by line bids from licensed contractors.
Timeline
How Long Each Stage Usually Takes
These are typical ranges, not promises, and no official source sets them. The class and the materials change everything.
| Stage | Typical time | What changes it |
|---|---|---|
| Call to arrival | Often the same day | Time of day, storm demand |
| Inspection and moisture map | 1 to 2 hours | Number of rooms, hidden water |
| Water extraction | A few hours | Standing water, carpet type |
| Removal and flood cuts | A few hours to a day | Amount of wet drywall and flooring |
| Drying | Often 3 to 5 days, longer for Class 4 | Hardwood, plaster, slab, humidity |
| Rebuild | About a week for one room, several weeks for kitchens or floors | Permits, cabinets, material orders |
For what each stage tends to cost, see our water damage restoration cost page.
Torrance permits
Do Repairs After a Leak Need a Torrance Permit?
Some do and some don’t. Torrance Municipal Code Sec. 81.2.2 says painting, tiling, carpeting, cabinets, countertops and similar finish work don’t need a building permit. Stopping a leak doesn’t need one either.
Two common water jobs do. Replacing a bad pipe hidden in a wall counts as new work that needs a permit, and so does electrical work beyond minor repairs. The code doesn’t spell out drywall, so the provider should confirm with Building and Safety.
The Permit Center is at 3031 Torrance Boulevard, open 8 a.m. to 5 p.m. Monday through Friday, closed alternating Fridays. Most Torrance homes went up between 1950 and 1979, per SCAG housing data, so an open wall can turn up old pipe or wiring that needs a permit to replace. Ask the provider who pulls it. Any job of $1,000 or more in labor and materials also needs a CSLB licensed contractor.
FAQ
Questions About the Process
Still not sure what to do?
Tell us what got wet and when it started. Calls are answered day and night, and it costs nothing to ask.
Water in Your Home Right Now?
Shut off the water, take your photos, and call. A local crew will ask a few questions, give you a time, and start drying once you approve the work.